I Made The world’s FIRST Ever OnlyFans Notification ROBOT By Zara Dar, I made this robot that moves up and down and flaps its wings every time I get a new subscriber on my OnlyFans. I could just easily open the OnlyFans website and see my new subscribers, but let’s face it, that’s boring. Let me show you what I did instead.
Combining Coding and Creativity
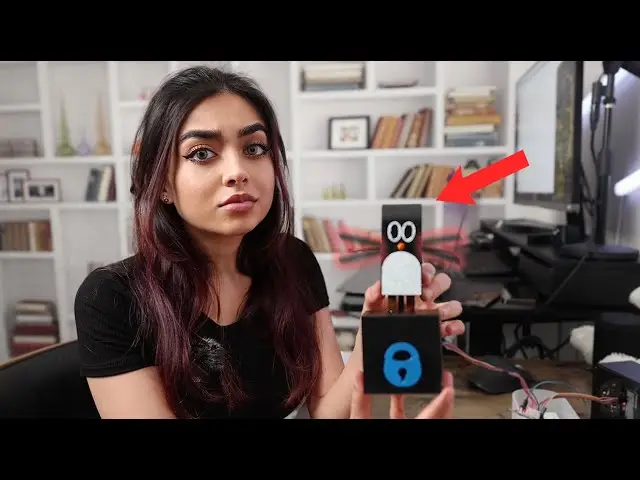
I decided to bring together my love for coding, learning, and creating stuff in general and creating an OnlyFans notification robot so that whenever I get a new subscriber on my OnlyFans, this cute little penguin will tell me.
Setting Up Email Notifications
To do this, I allowed OnlyFans to send me email push notifications for new subscribers, and I made it so that my Raspberry Pi checks my emails and scans for a specific sender. In this case, it would be OnlyFans. When it does see that email, it allows the code to proceed and lets the motor connected to my Raspberry Pi rotate, which makes the penguin on the cam and follower setup move up and down. Of course, to add a little something extra on top of that, I made it play whenever it goes off.
Choosing Raspberry Pi Over Arduino
I hate having a ton of unnecessary emails, and I usually like my inbox to be clean. So, I enabled these push notifications just for the sake of this project. I’ve had an Arduino for the longest time, and I’ve done a lot of fun projects with it. But when I wanted to do this specific project, I was running into a lot of problems, especially with being able to connect it to my email.
Benefits of Raspberry Pi
So, I decided it was time for me to upgrade to a Raspberry Pi, and it did make the process of creating this project a whole lot easier. I’m sure I would have been able to do it with the Arduino, but the Raspberry Pi is just so much easier. Now, I’ve got a new toy to play with, so why not?
For those of you that don’t know what a Raspberry Pi is, it’s essentially a mini-computer that runs Linux. You can connect it to a screen like I do and use it just like you would a regular computer. I also got this really neat case with a bunch of colorful LEDs on it. Getting used to running things on a Raspberry Pi was really fun to learn, and I honestly love it.
The downside of a Raspberry Pi, however, is that it cannot really handle a really heavy workload, but I still love it. Of course, it is a really powerful tool that I will be using in many of my future projects.
Understanding the Cam and Follower Mechanism
Going back to the robot, I mentioned that the penguin uses the idea of a cam and follower to move. A cam and follower mechanism is a mechanical system used to convert rotational motion into linear motion. It consists of two main components: the cam and the follower. The cam is a uniquely shaped rotating element that has an irregular or non-circular profile designed to impart a specific motion to the follower. It can also come in various shapes and sizes, depending on your needs.
How the Cam and Follower Work
The cam is mounted on a rotating shaft, and in this case, it is driven by a motor. The follower sits on top of the cam and converts that rotational motion of the cam into the desired linear motion. Let me show you exactly what I’m talking about. As the cam rotates, the follower on top moves the penguin up and down.
Building the Robot
To do this project, I started gathering all of the parts I needed, including the stepper motor, stepper motor driver, and a power supply. Then I realized that I ended up buying a lot of materials without even checking what I already had. It turns out that not only did I already have a really powerful stepper motor that was small and powerful enough for this project, but I also had a stepper motor driver that worked perfectly with it.
Writing the Python Script
Using Chat GPT, I was able to come up with the proper connections, and it actually was a lot simpler than I thought it would be. But this was just the beginning.
The next thing I had to do was write a Python script to go through my email and run the motor if it found an email from OnlyFans with a notification saying that I got a new subscriber. I used Chat GPT once again to help me write the Python script and to teach me along the way.
Challenges and Debugging
I must say that Chat GPT does have its good and bad moments. It can really be helpful at times, but other times, it just gets really frustrating. When trying to debug the code, I noticed that it starts hallucinating and keeps repeating parts of the code that didn’t really work in the first place. So, knowing what you are doing and having a good understanding of how the code should function is still essential. Otherwise, you just never get anything to work.
Let’s briefly go over the Python script I wrote for this project. First, as with any other Python script, we are going to start by importing a couple of important libraries. The first one is the RPi.GPIO, which is used to control the GPIO or the general-purpose input/output pins from the Raspberry Pi.
Of course, if you don’t have any of these libraries, you can always install them on your computer by using the pip install command on your terminal or command prompt. IMAP lib lets us interact with our email, and py game is actually used to develop games, but it also lets us play audio. So, this is the library that I’ll be using to play the audio for this project.
I’m not going to go over all of the exact specifics of this code, but if you want to have a look at it yourself, you can do so on my GitHub page. I’ll be putting it along with a bunch of other details for this project.
Key Takeaways from the Code
The main takeaways of this code, however, are that after we have put in the details of our email—being our username and password—and also the details of who we want to receive notifications from, in this case, I just put the general no-reply@onlyfans.com. Since I only enabled notifications for new subscribers, the only emails I’ll be receiving from them are regarding my new subscribers.
After that, we initialize py game, which will be used to play our sound, and put the .wav file of the sound that we want. I’ve saved my sound file as sound3.wav in the same folder as my Python script, so I can just call it with its name.
The next bit logs into my email with the username and password I gave it and looks at my inbox. The next section goes to my unread emails and searches for that specific sender that I specified before. This if statement essentially says that if that email is found from that sender that I specified, then this code will proceed. It plays the sound and also rotates the motor 512 steps or four complete rotations.
In addition to that, I made it so that after it sees that email, it marks it as seen so it does not keep seeing that same email over and over again. Since I want this to be a continuous process, I made it so that it checks my emails every 20 seconds, and if it does see that sender, it goes through this process all over again.
Ensuring a Clean Inbox
After debugging and getting the motor to work, I wanted to add some additional functionalities to this code to help keep my emails clean and ensure that it only sees the new emails. Otherwise, it would just keep going off until the email was deleted. So, I made sure that the code only sees my unread emails, and after it has seen that email, it marks it as read so it doesn’t end up looking at those same emails over and over again.
3D Printing the Penguin
Once that was all set, I needed to figure out how the robot would actually look. I initially wanted to make my own cam and follower, but then I found this really neat penguin one with wings that flap as it moves on Thingiverse. So, I was like, why not just use this one?
Challenges with 3D Printing
Little did I know that it would be a disaster to 3D print. It’s not because the design is bad; it’s just because my 3D printer has been a pain to get a good print out of. I literally spent days trying to get a decent print out of this thing, playing with so many different settings.
Final Thoughts
But eventually, after a lot of effort, I got it to work. It actually worked!
Leave a Reply